
Acrylic Photocard Holder Keychain
We received an inquiry about how to make a photo card holder keychain with DIY acrylic designs before, so we try to figure it out, let’s see what we tried.
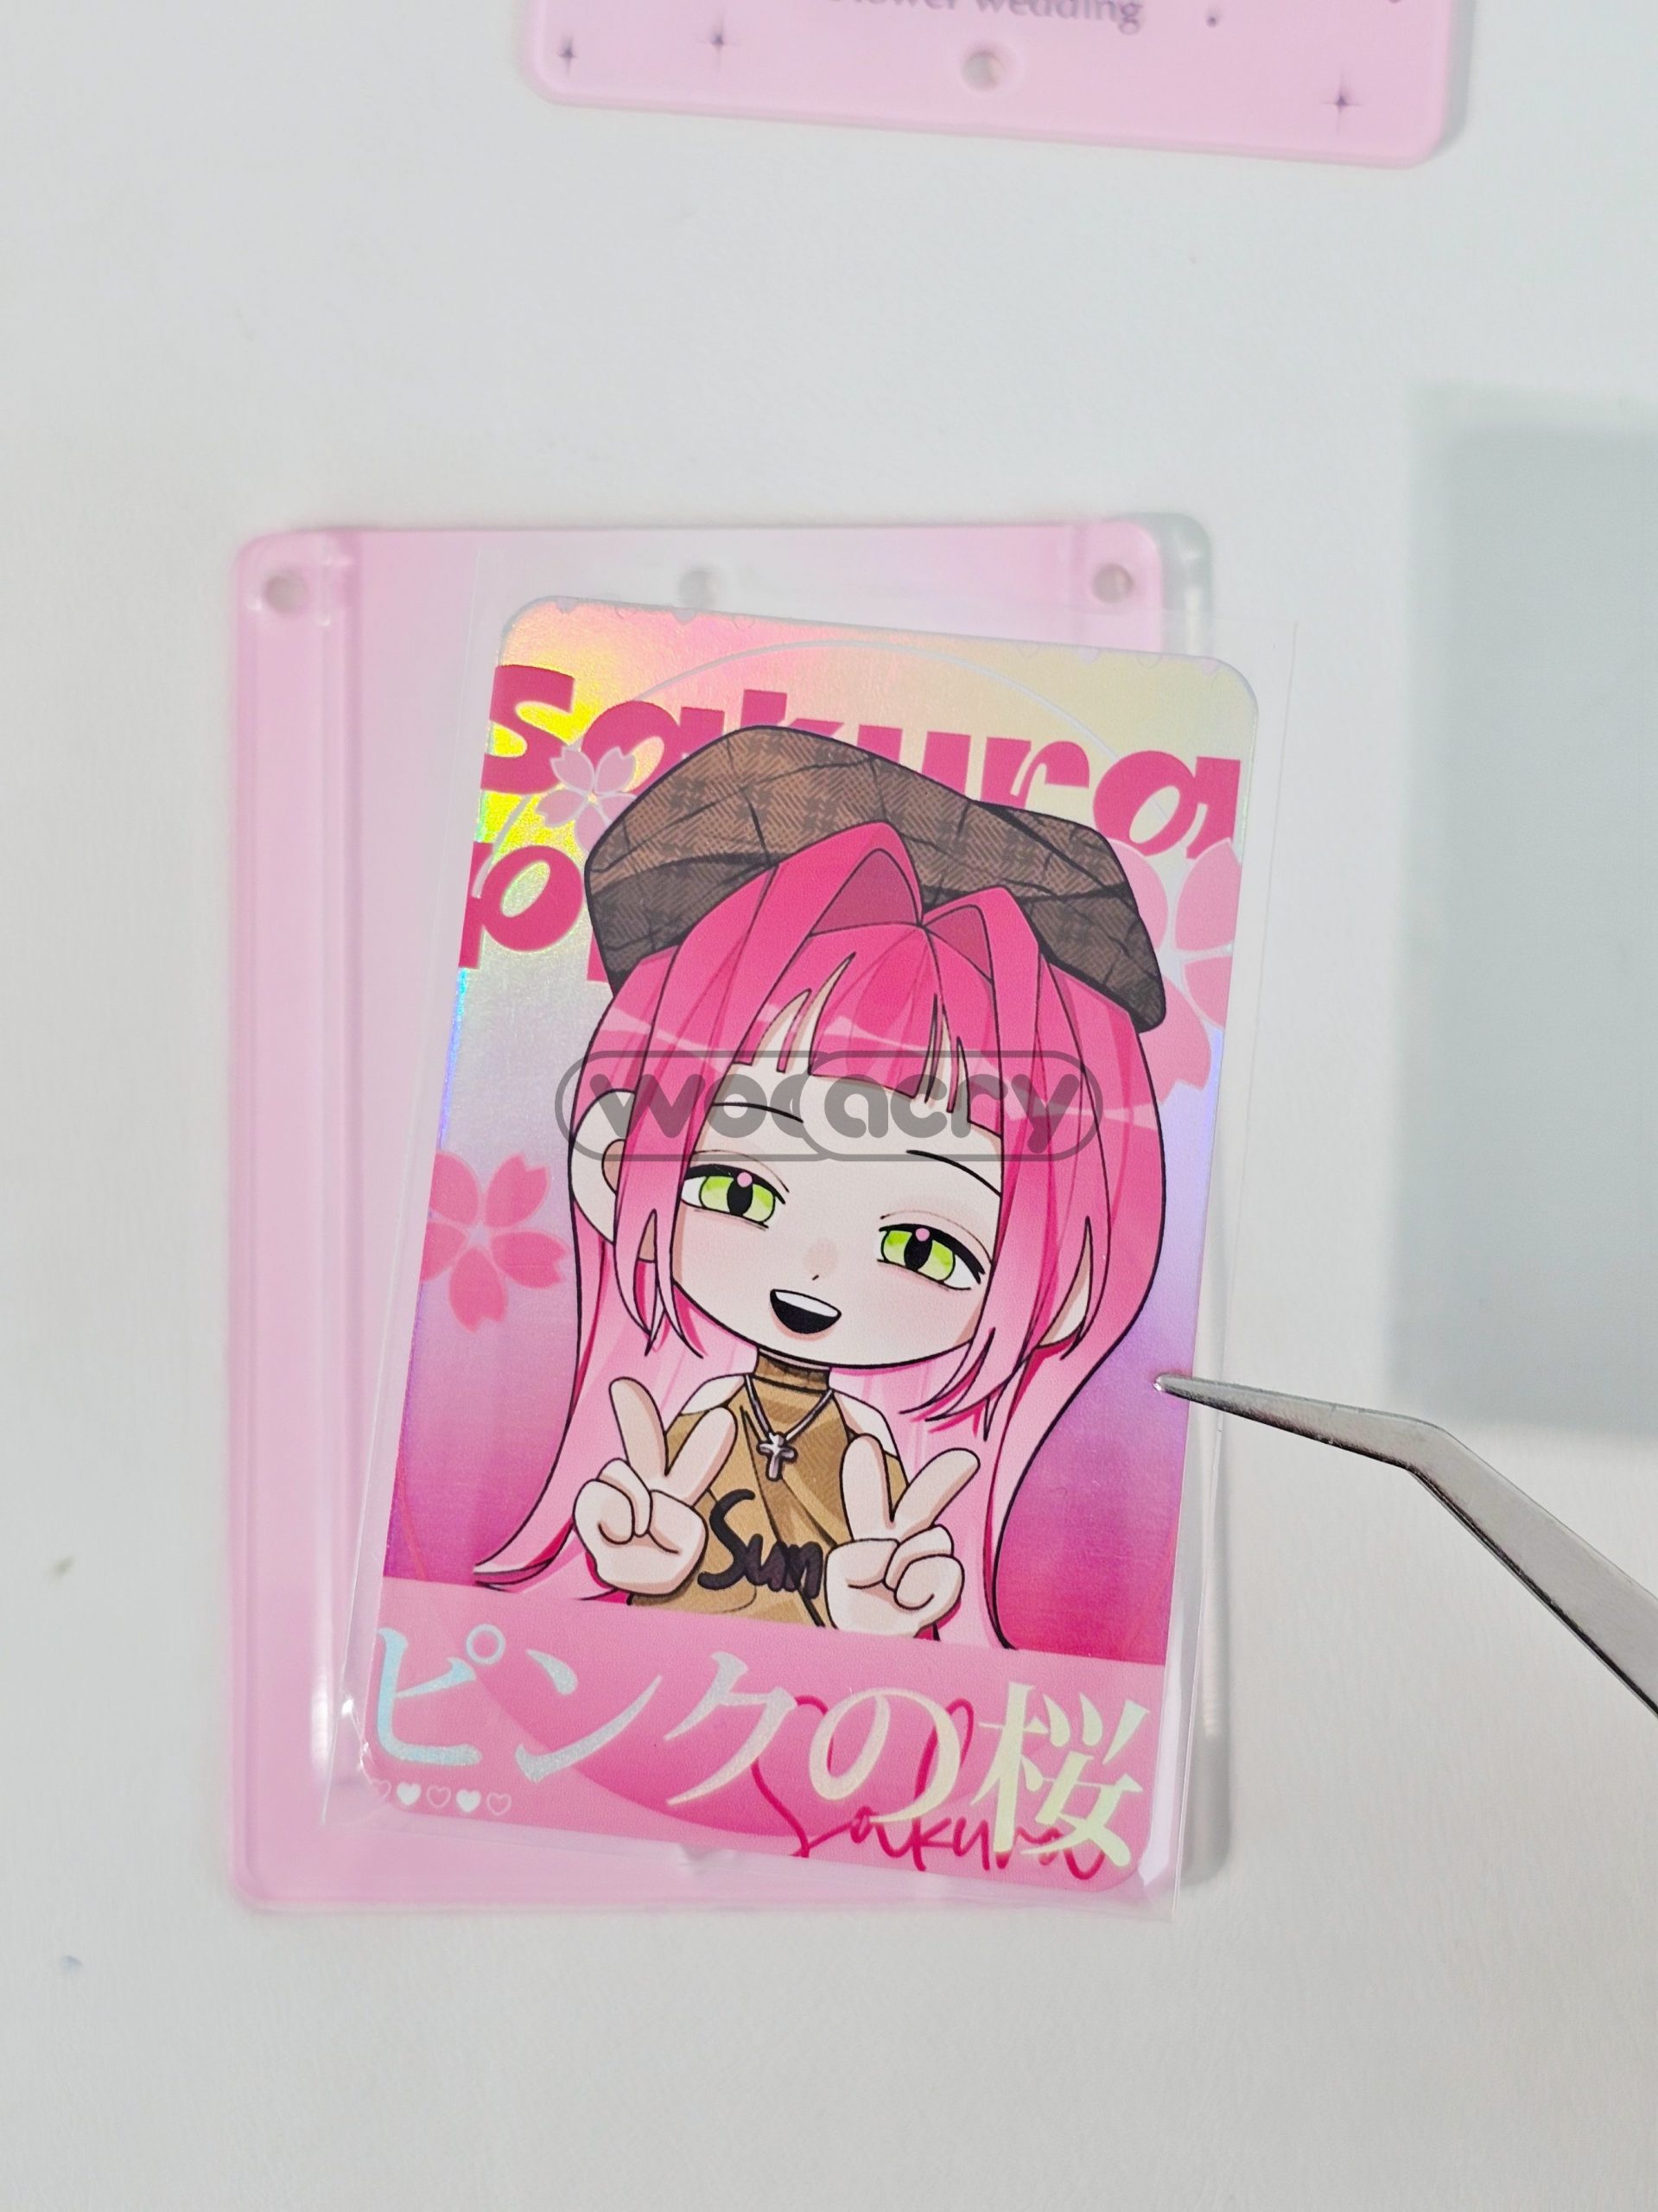
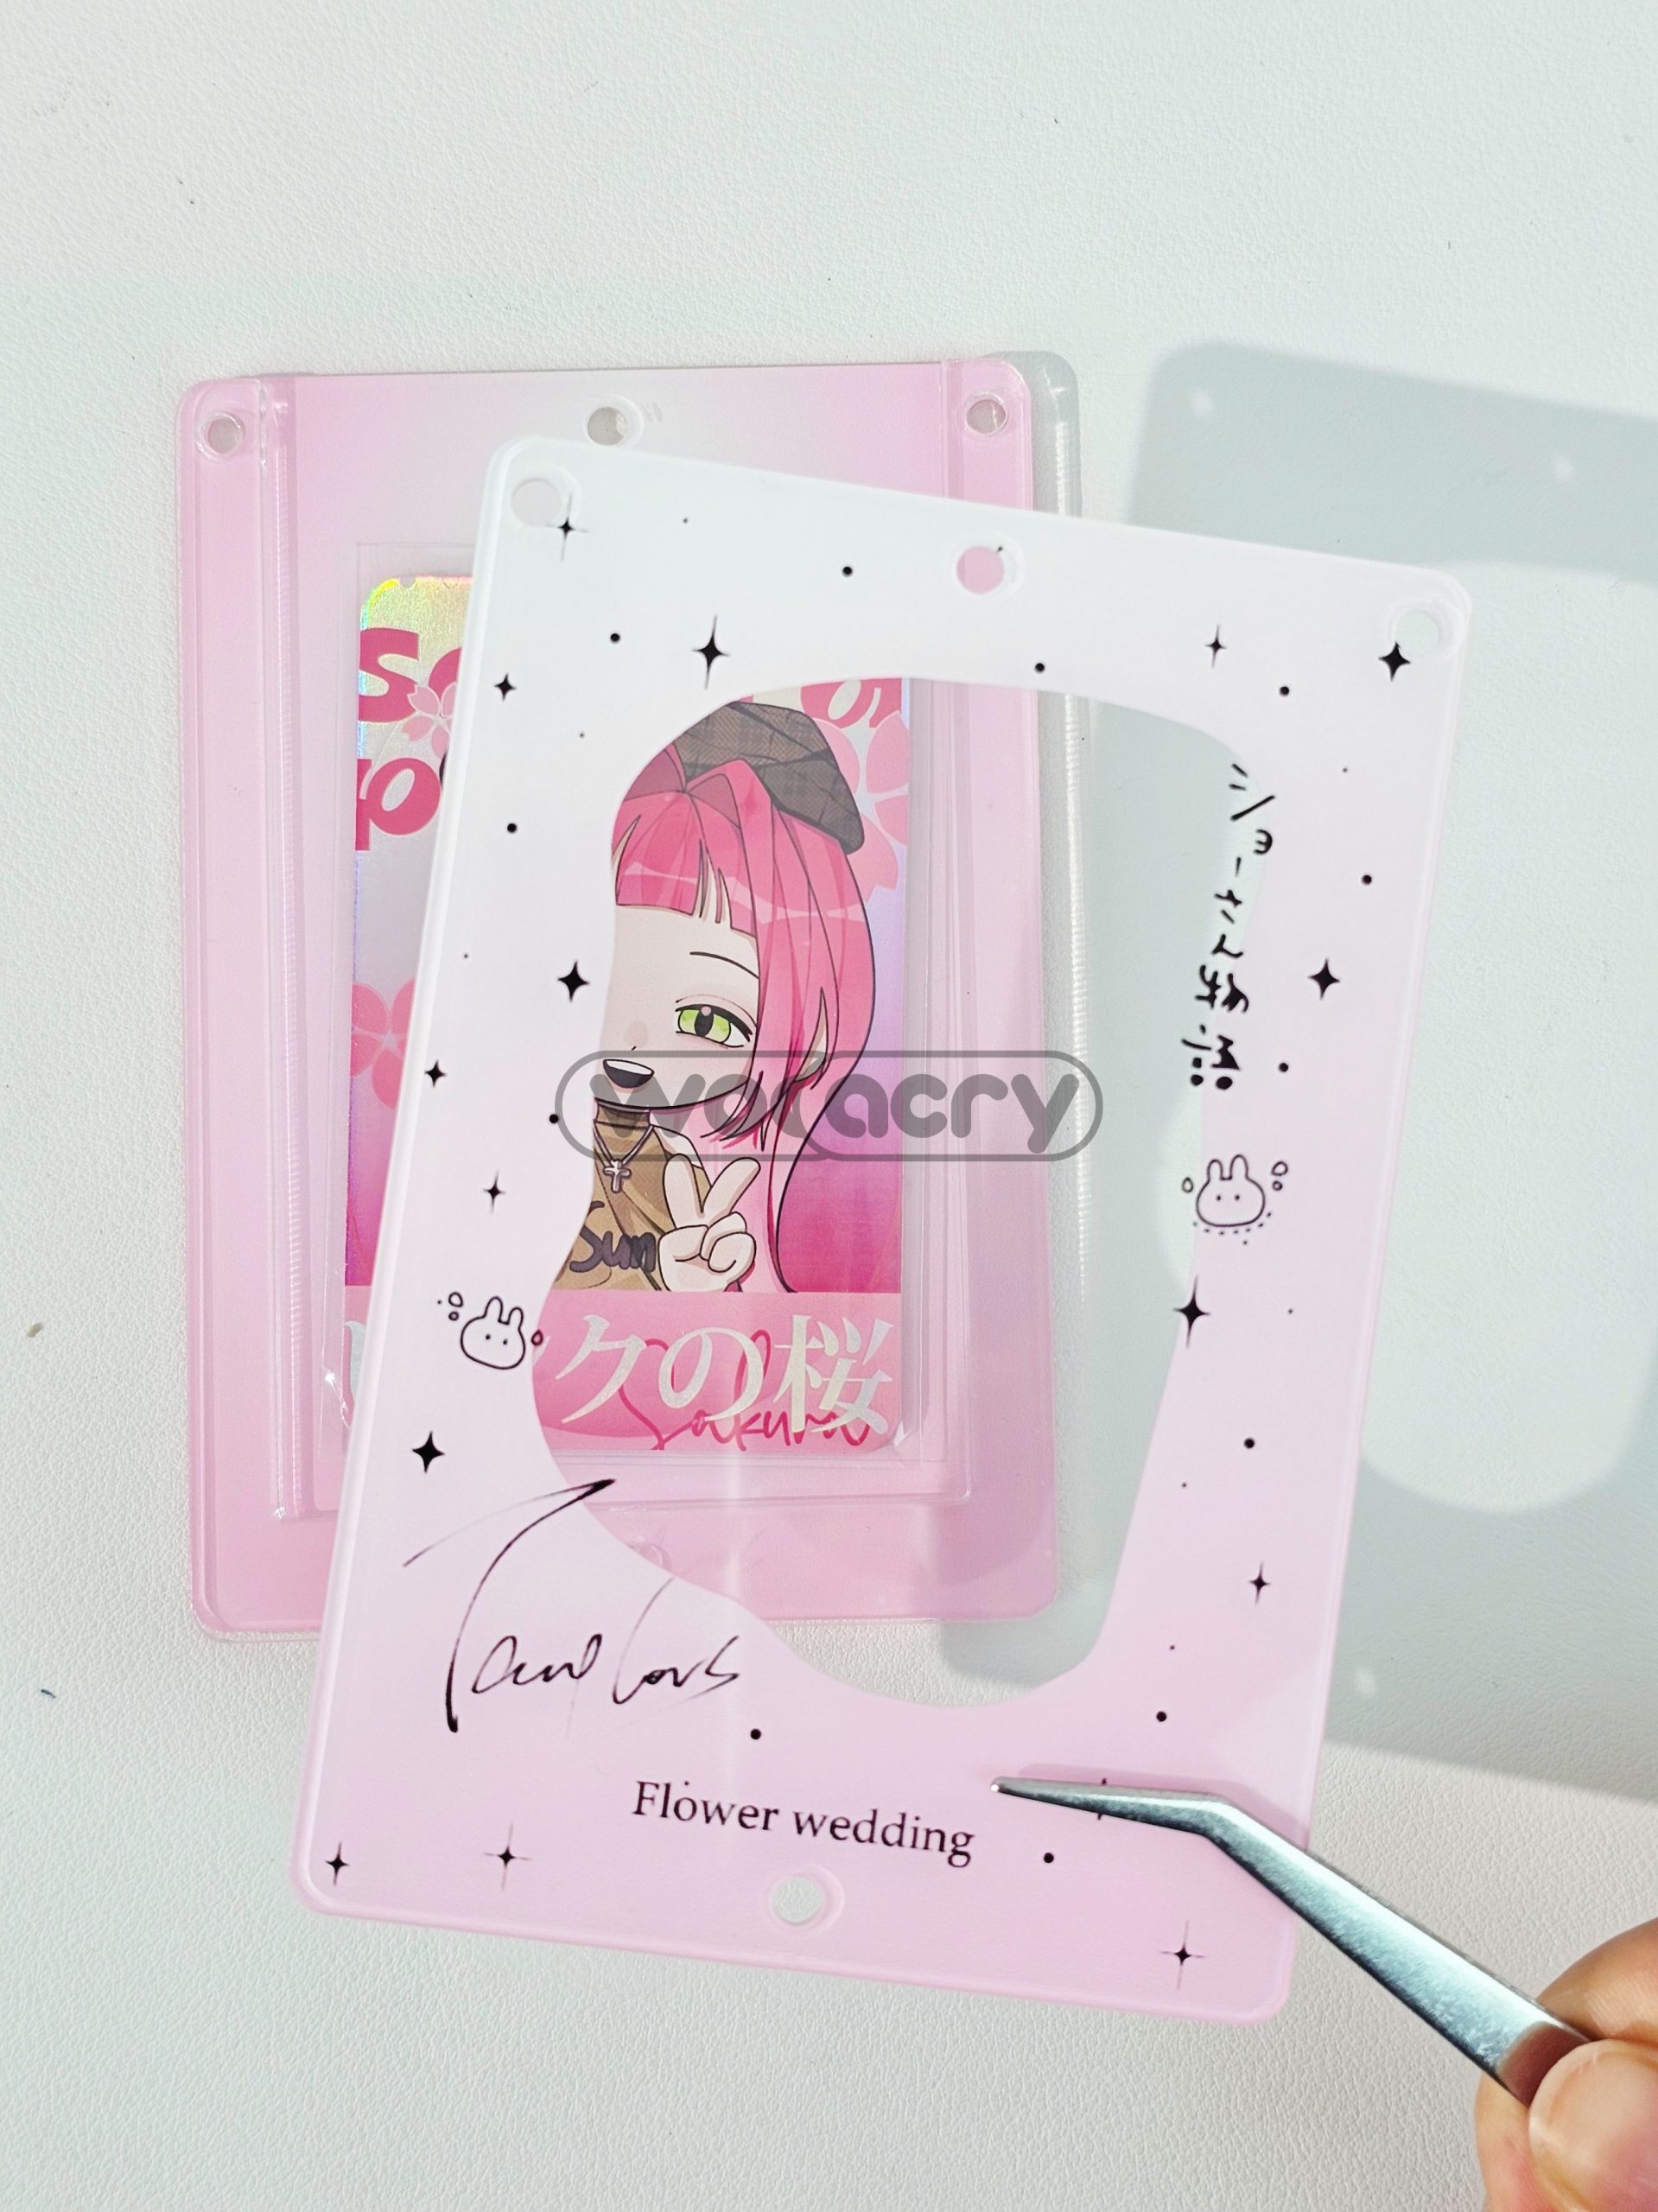
First, please see the assembled work, the photo card could be changed to anything you prefer!

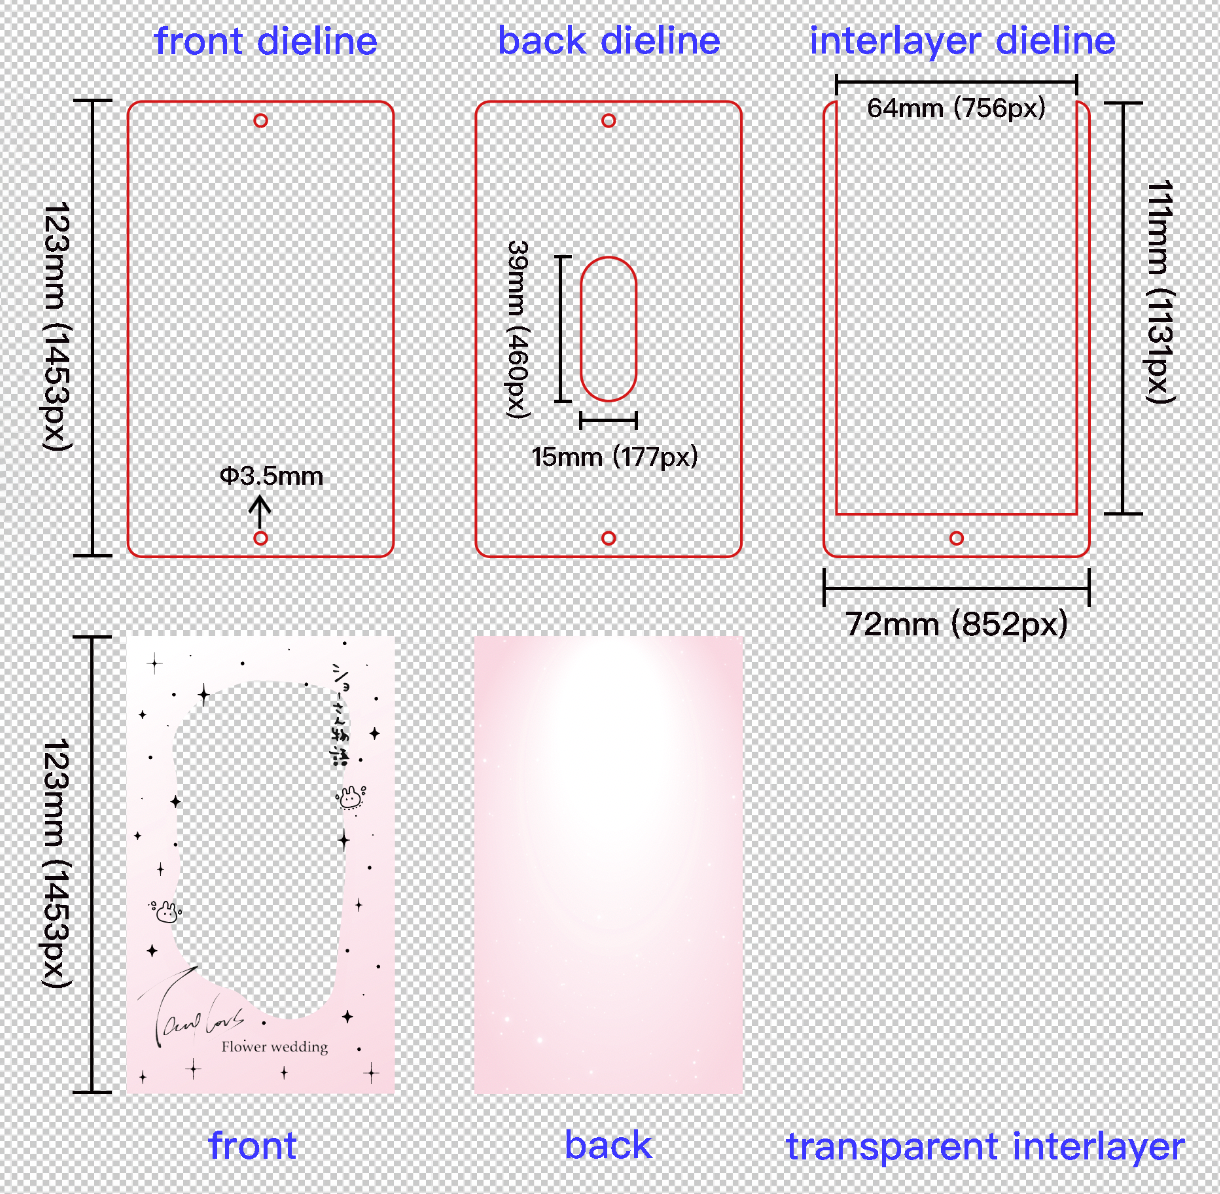
simply, you need at least 6 layers:
1, the front design layer
2, the front dieline layer
3, the interlayer dieline
4, the trasnparent interlayer (to be sure the photocard can be inserted in the middle)
5, the back design layer
6, the back dieline layer
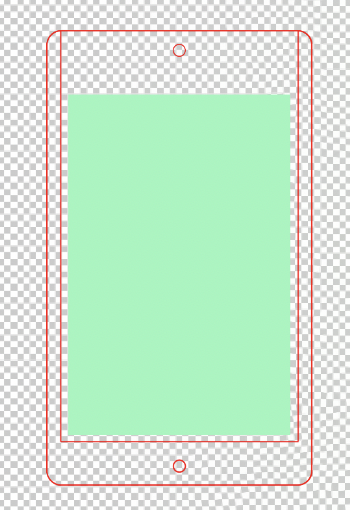
Something like this:
the green area would be the part to put your photo card
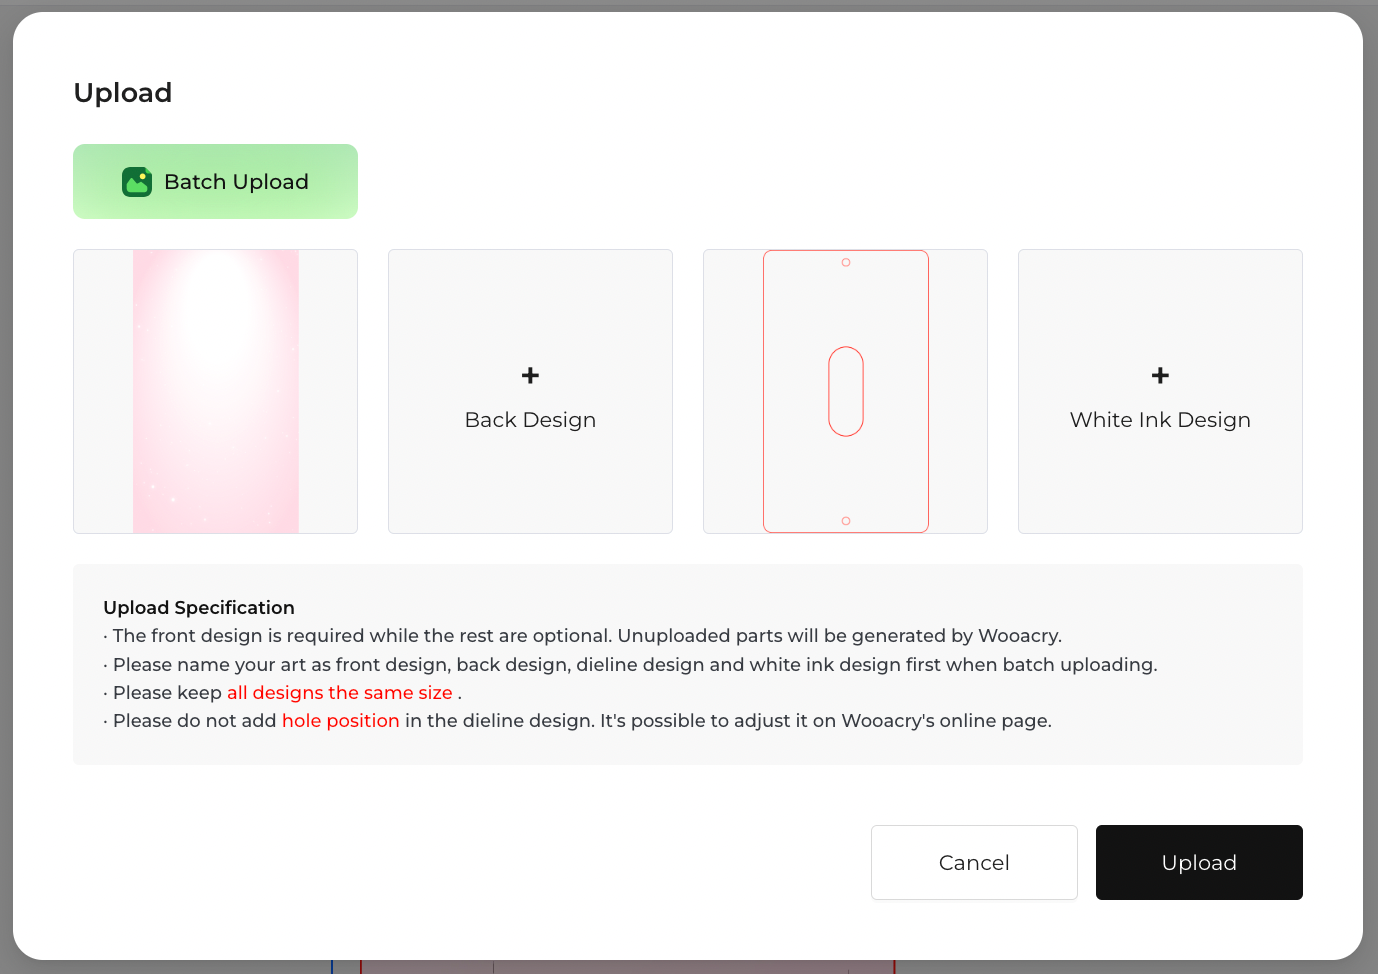
ok now let’s begin with DIY design, first, upload the front design and dieline layer
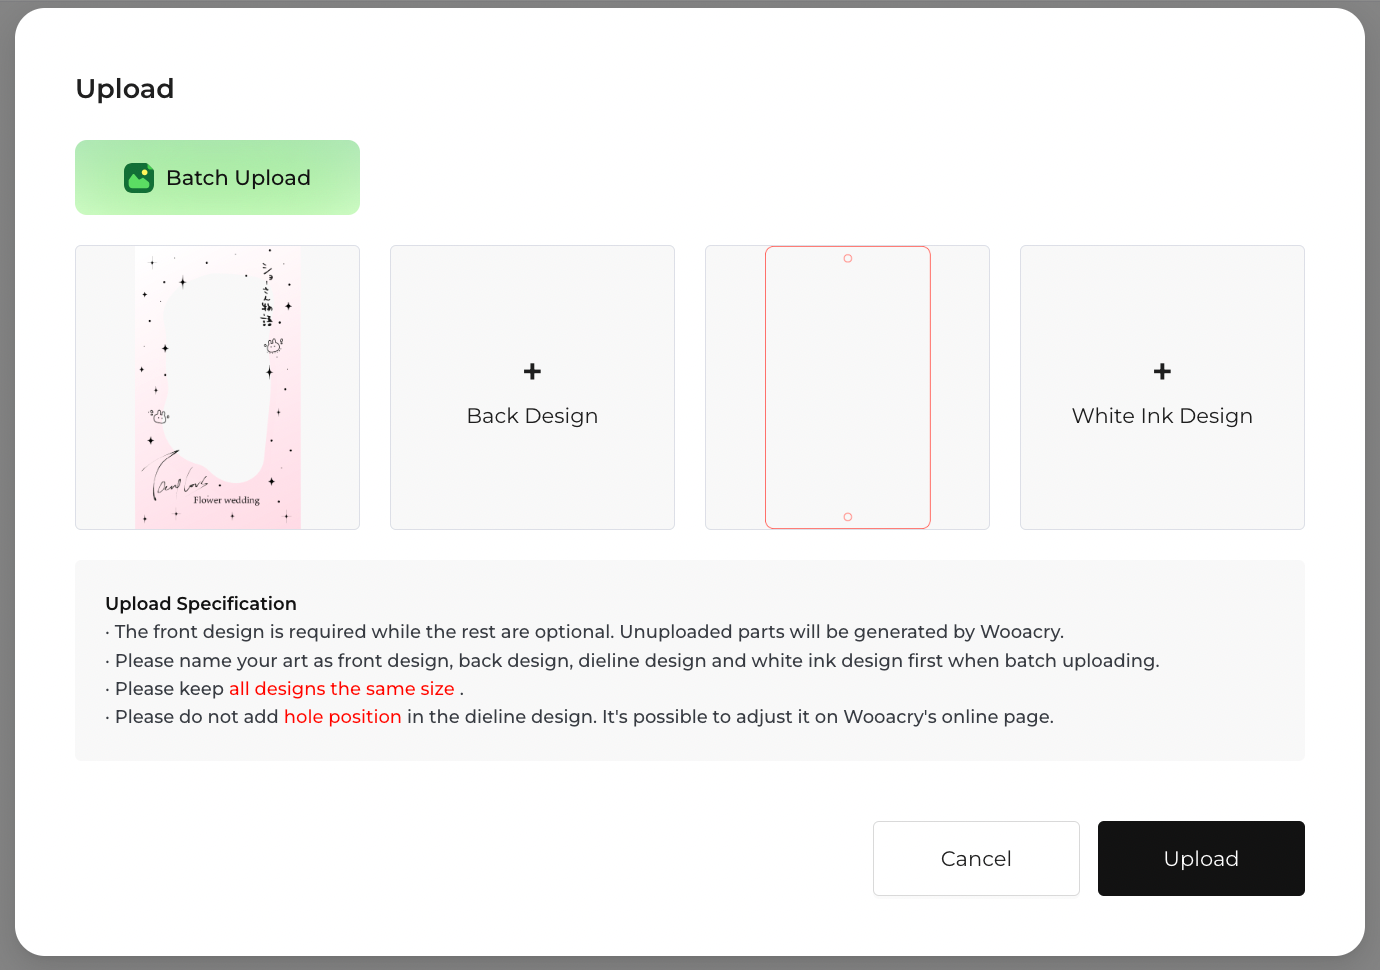
next, upload the back design and dieline layer
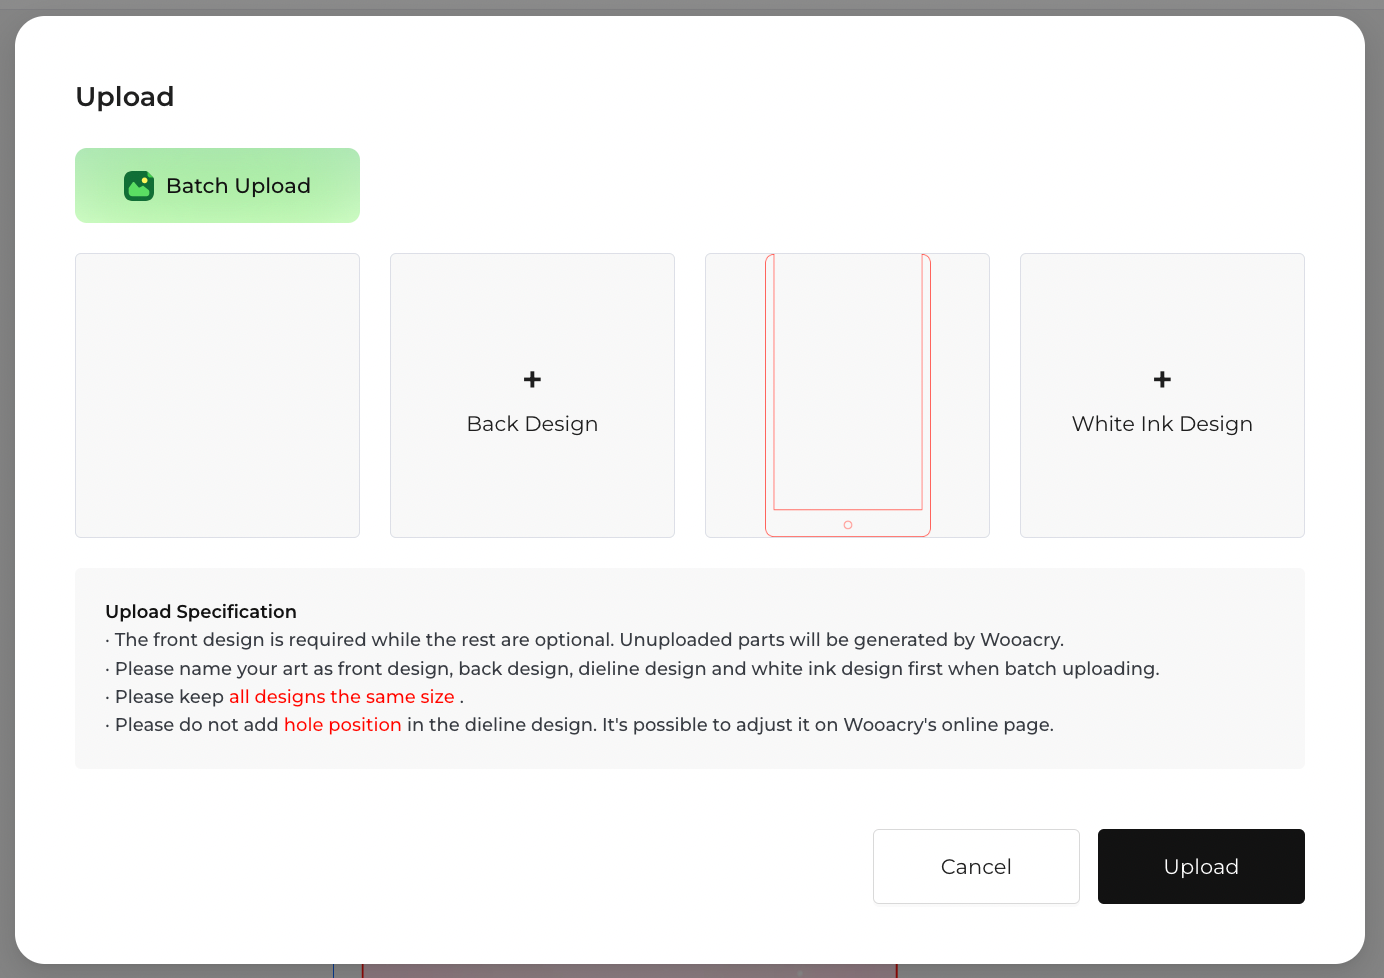
next, the middle (interlayer) transparent design and dieline!!
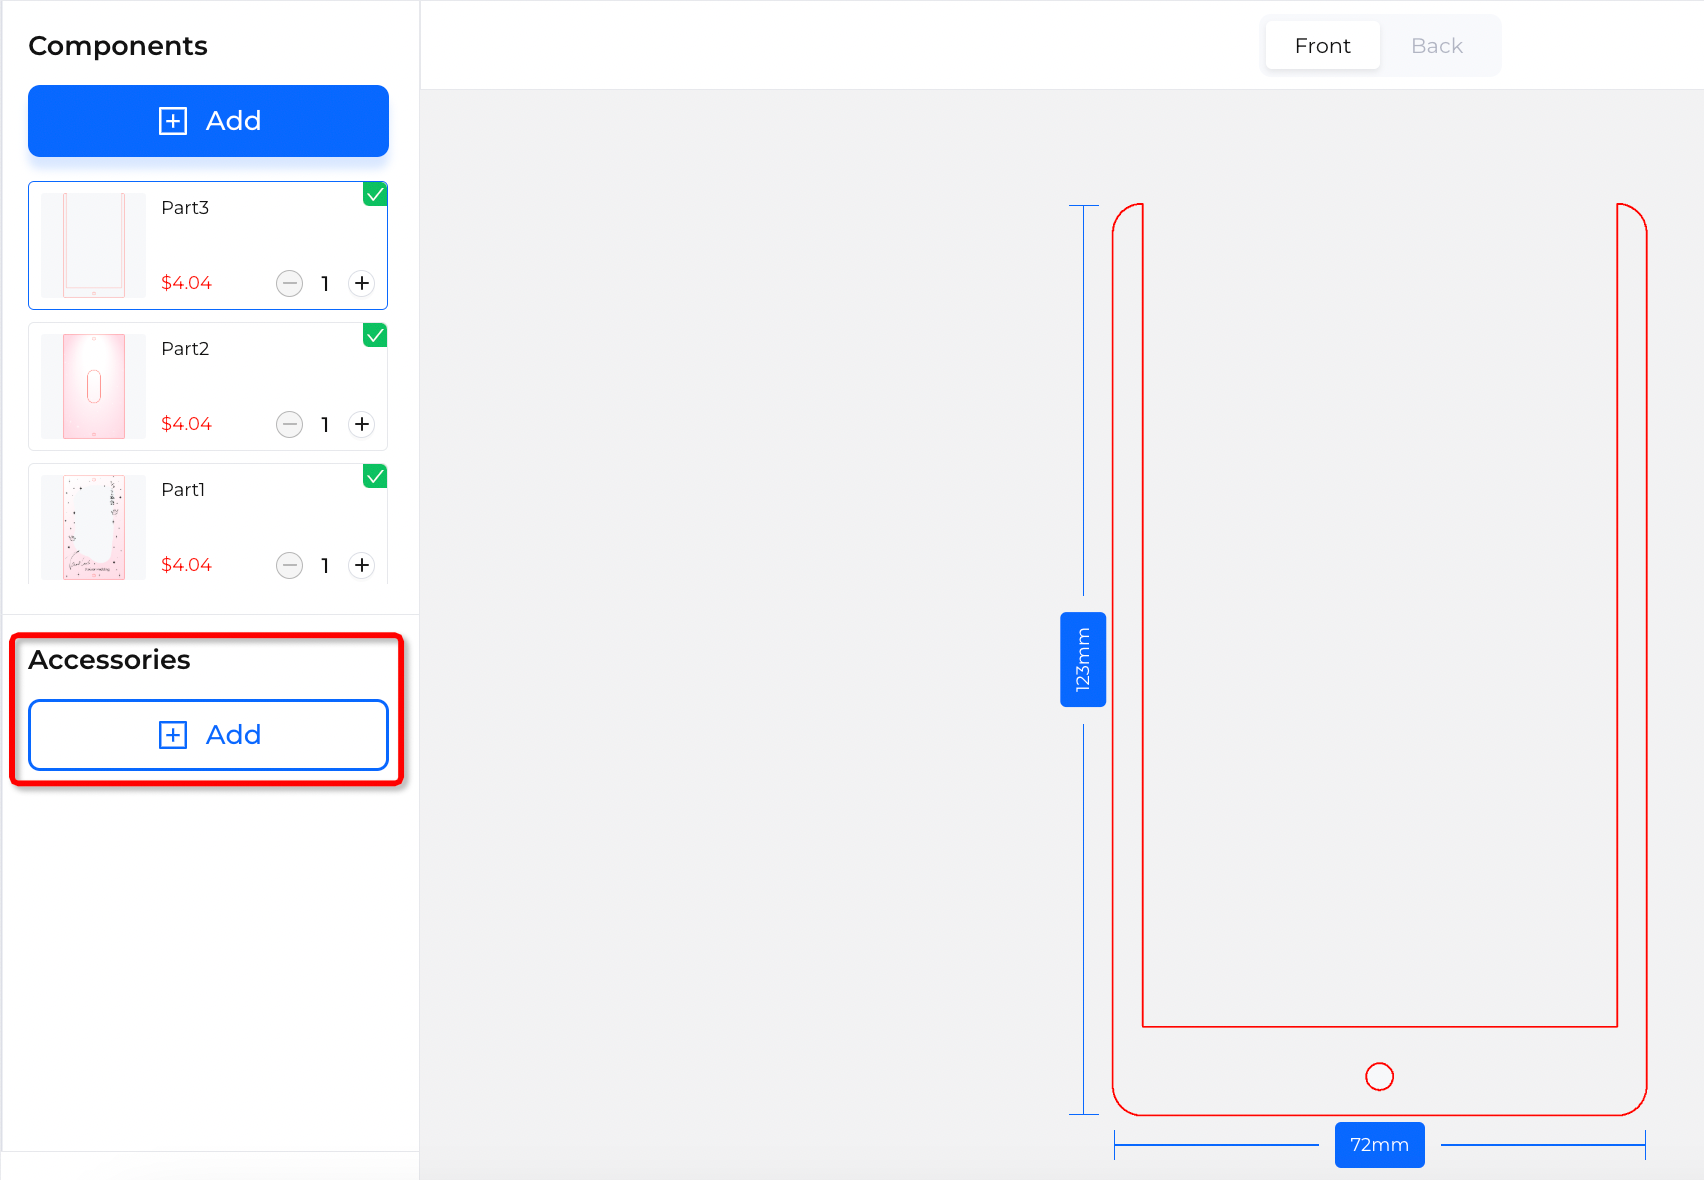
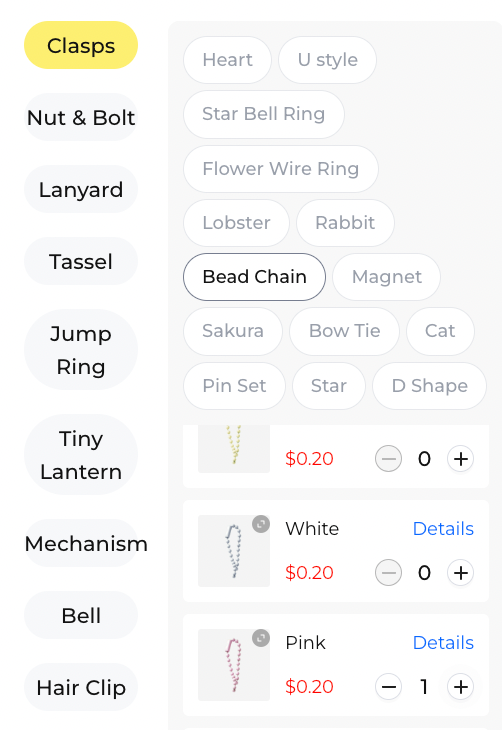
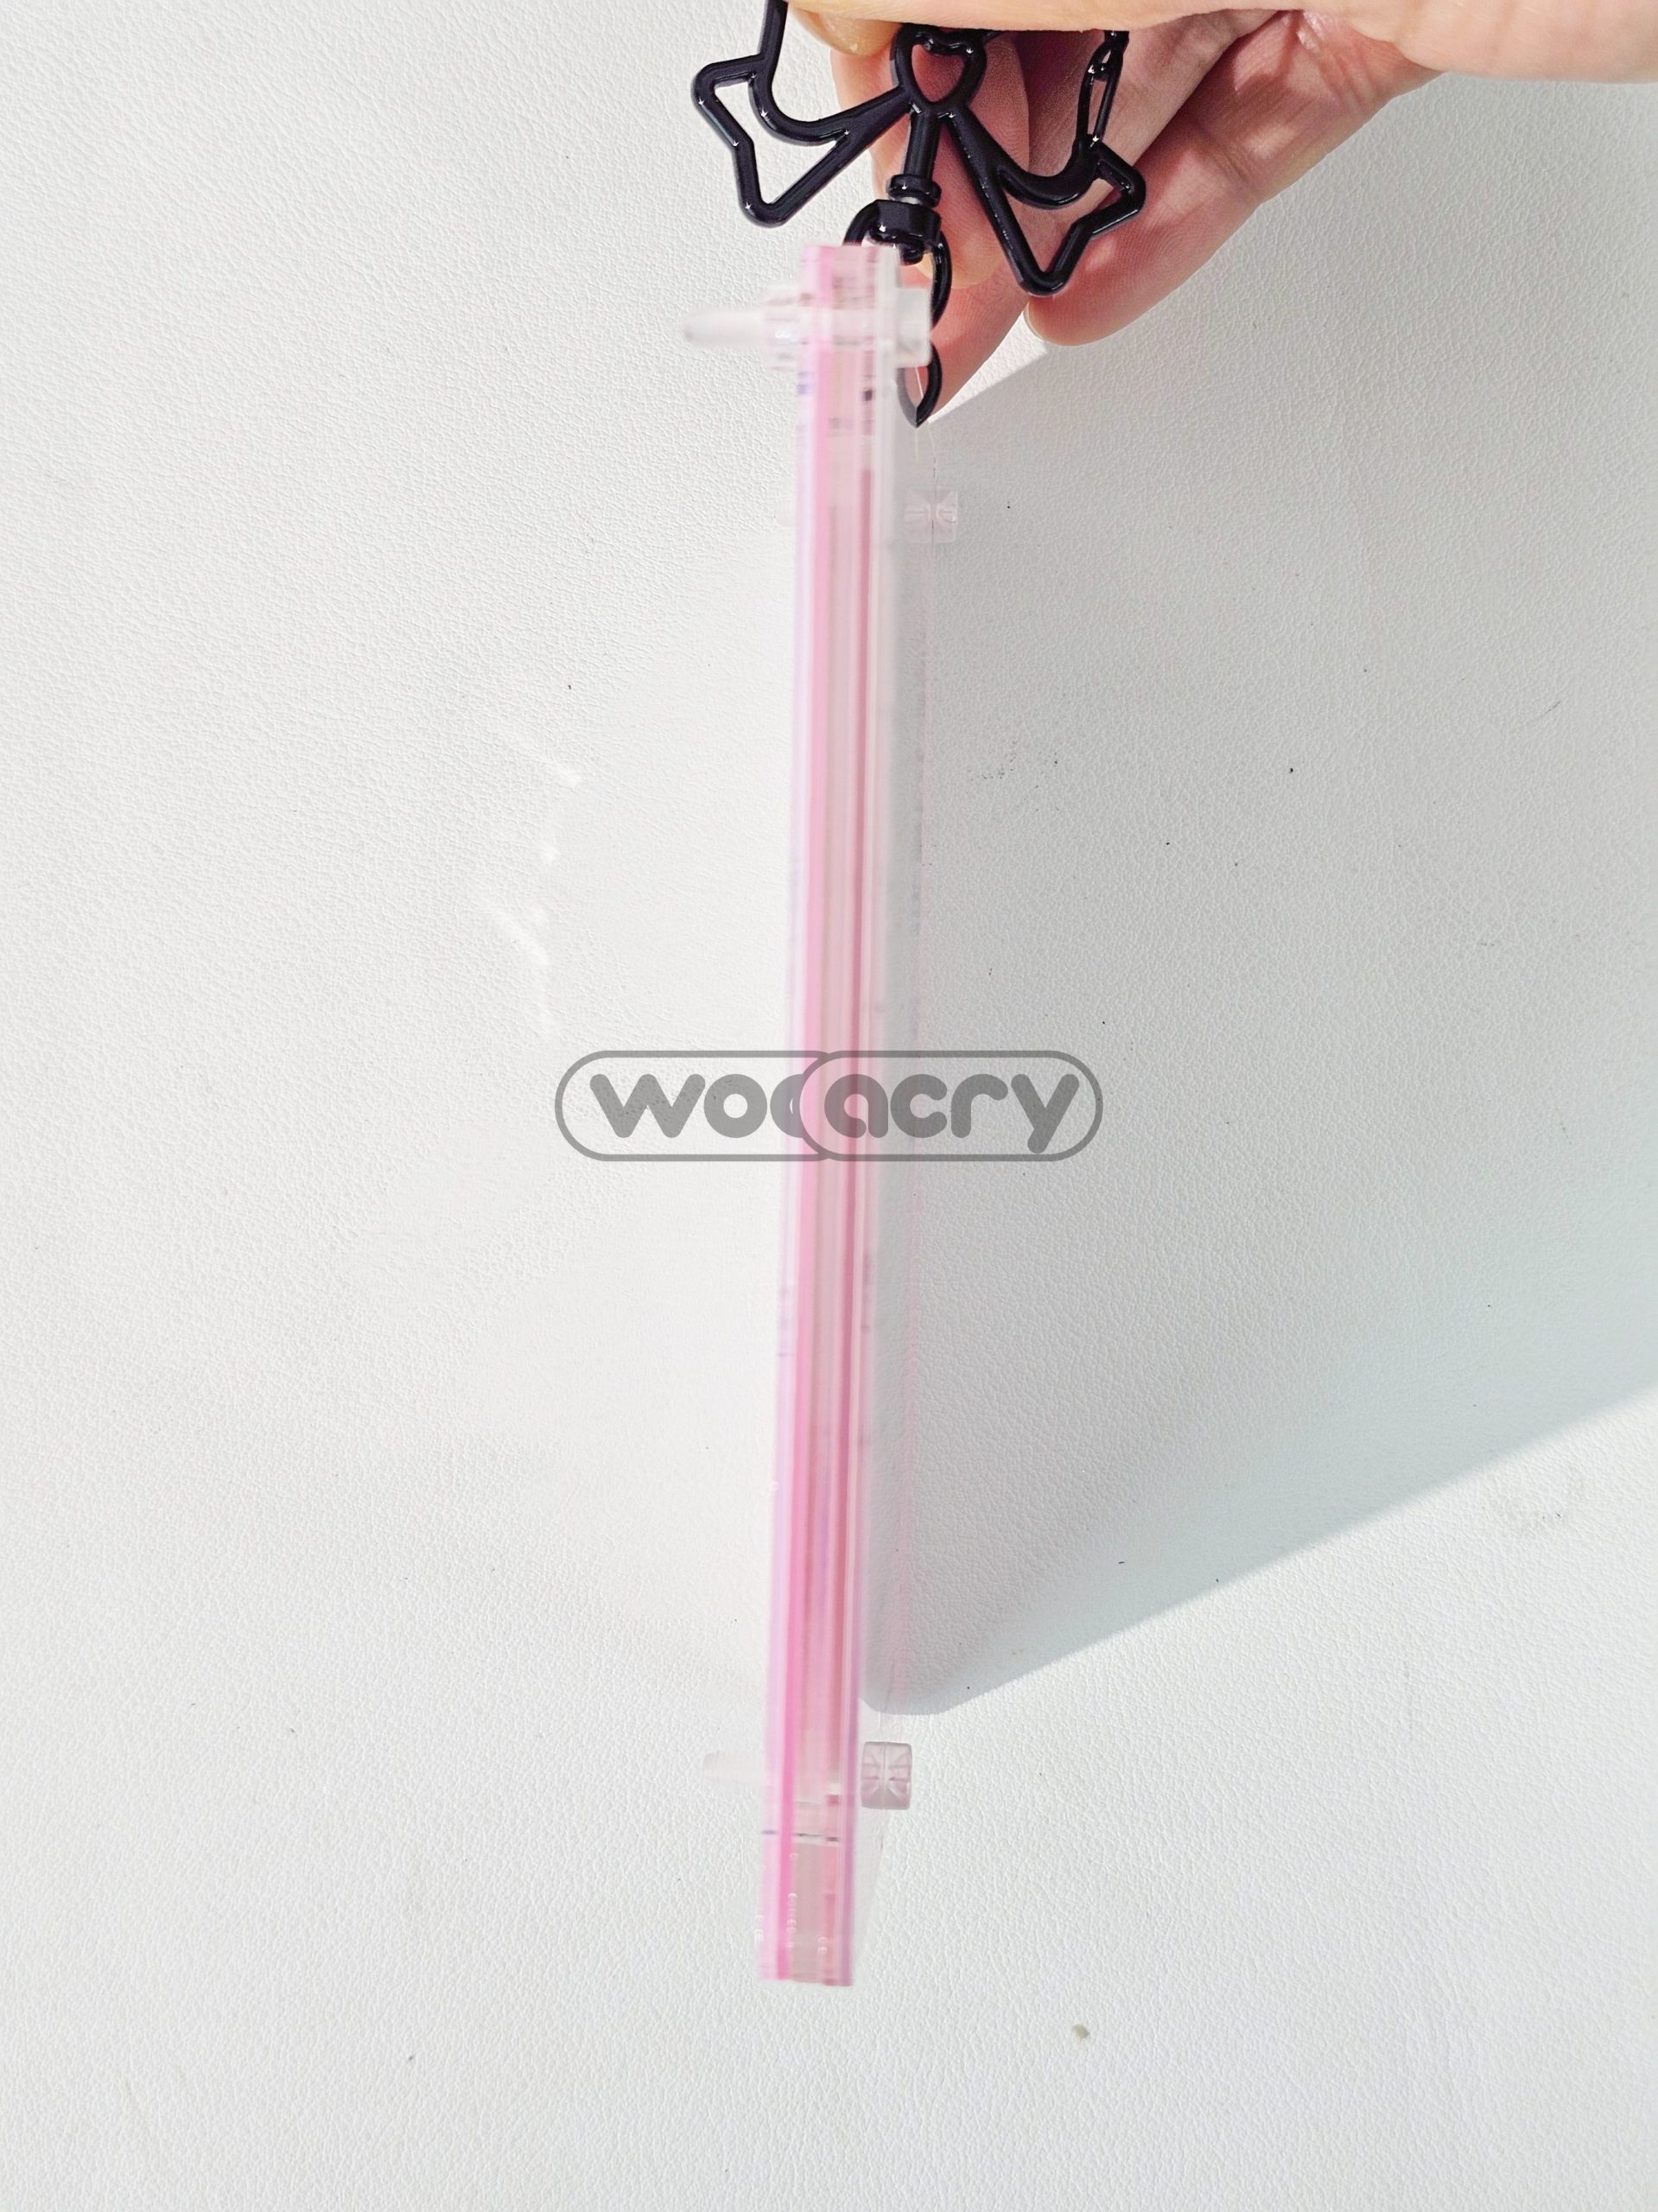
DO NOT forget to add the accessories, otherwise you can’t assemble them properly
And those are what we got in actual size
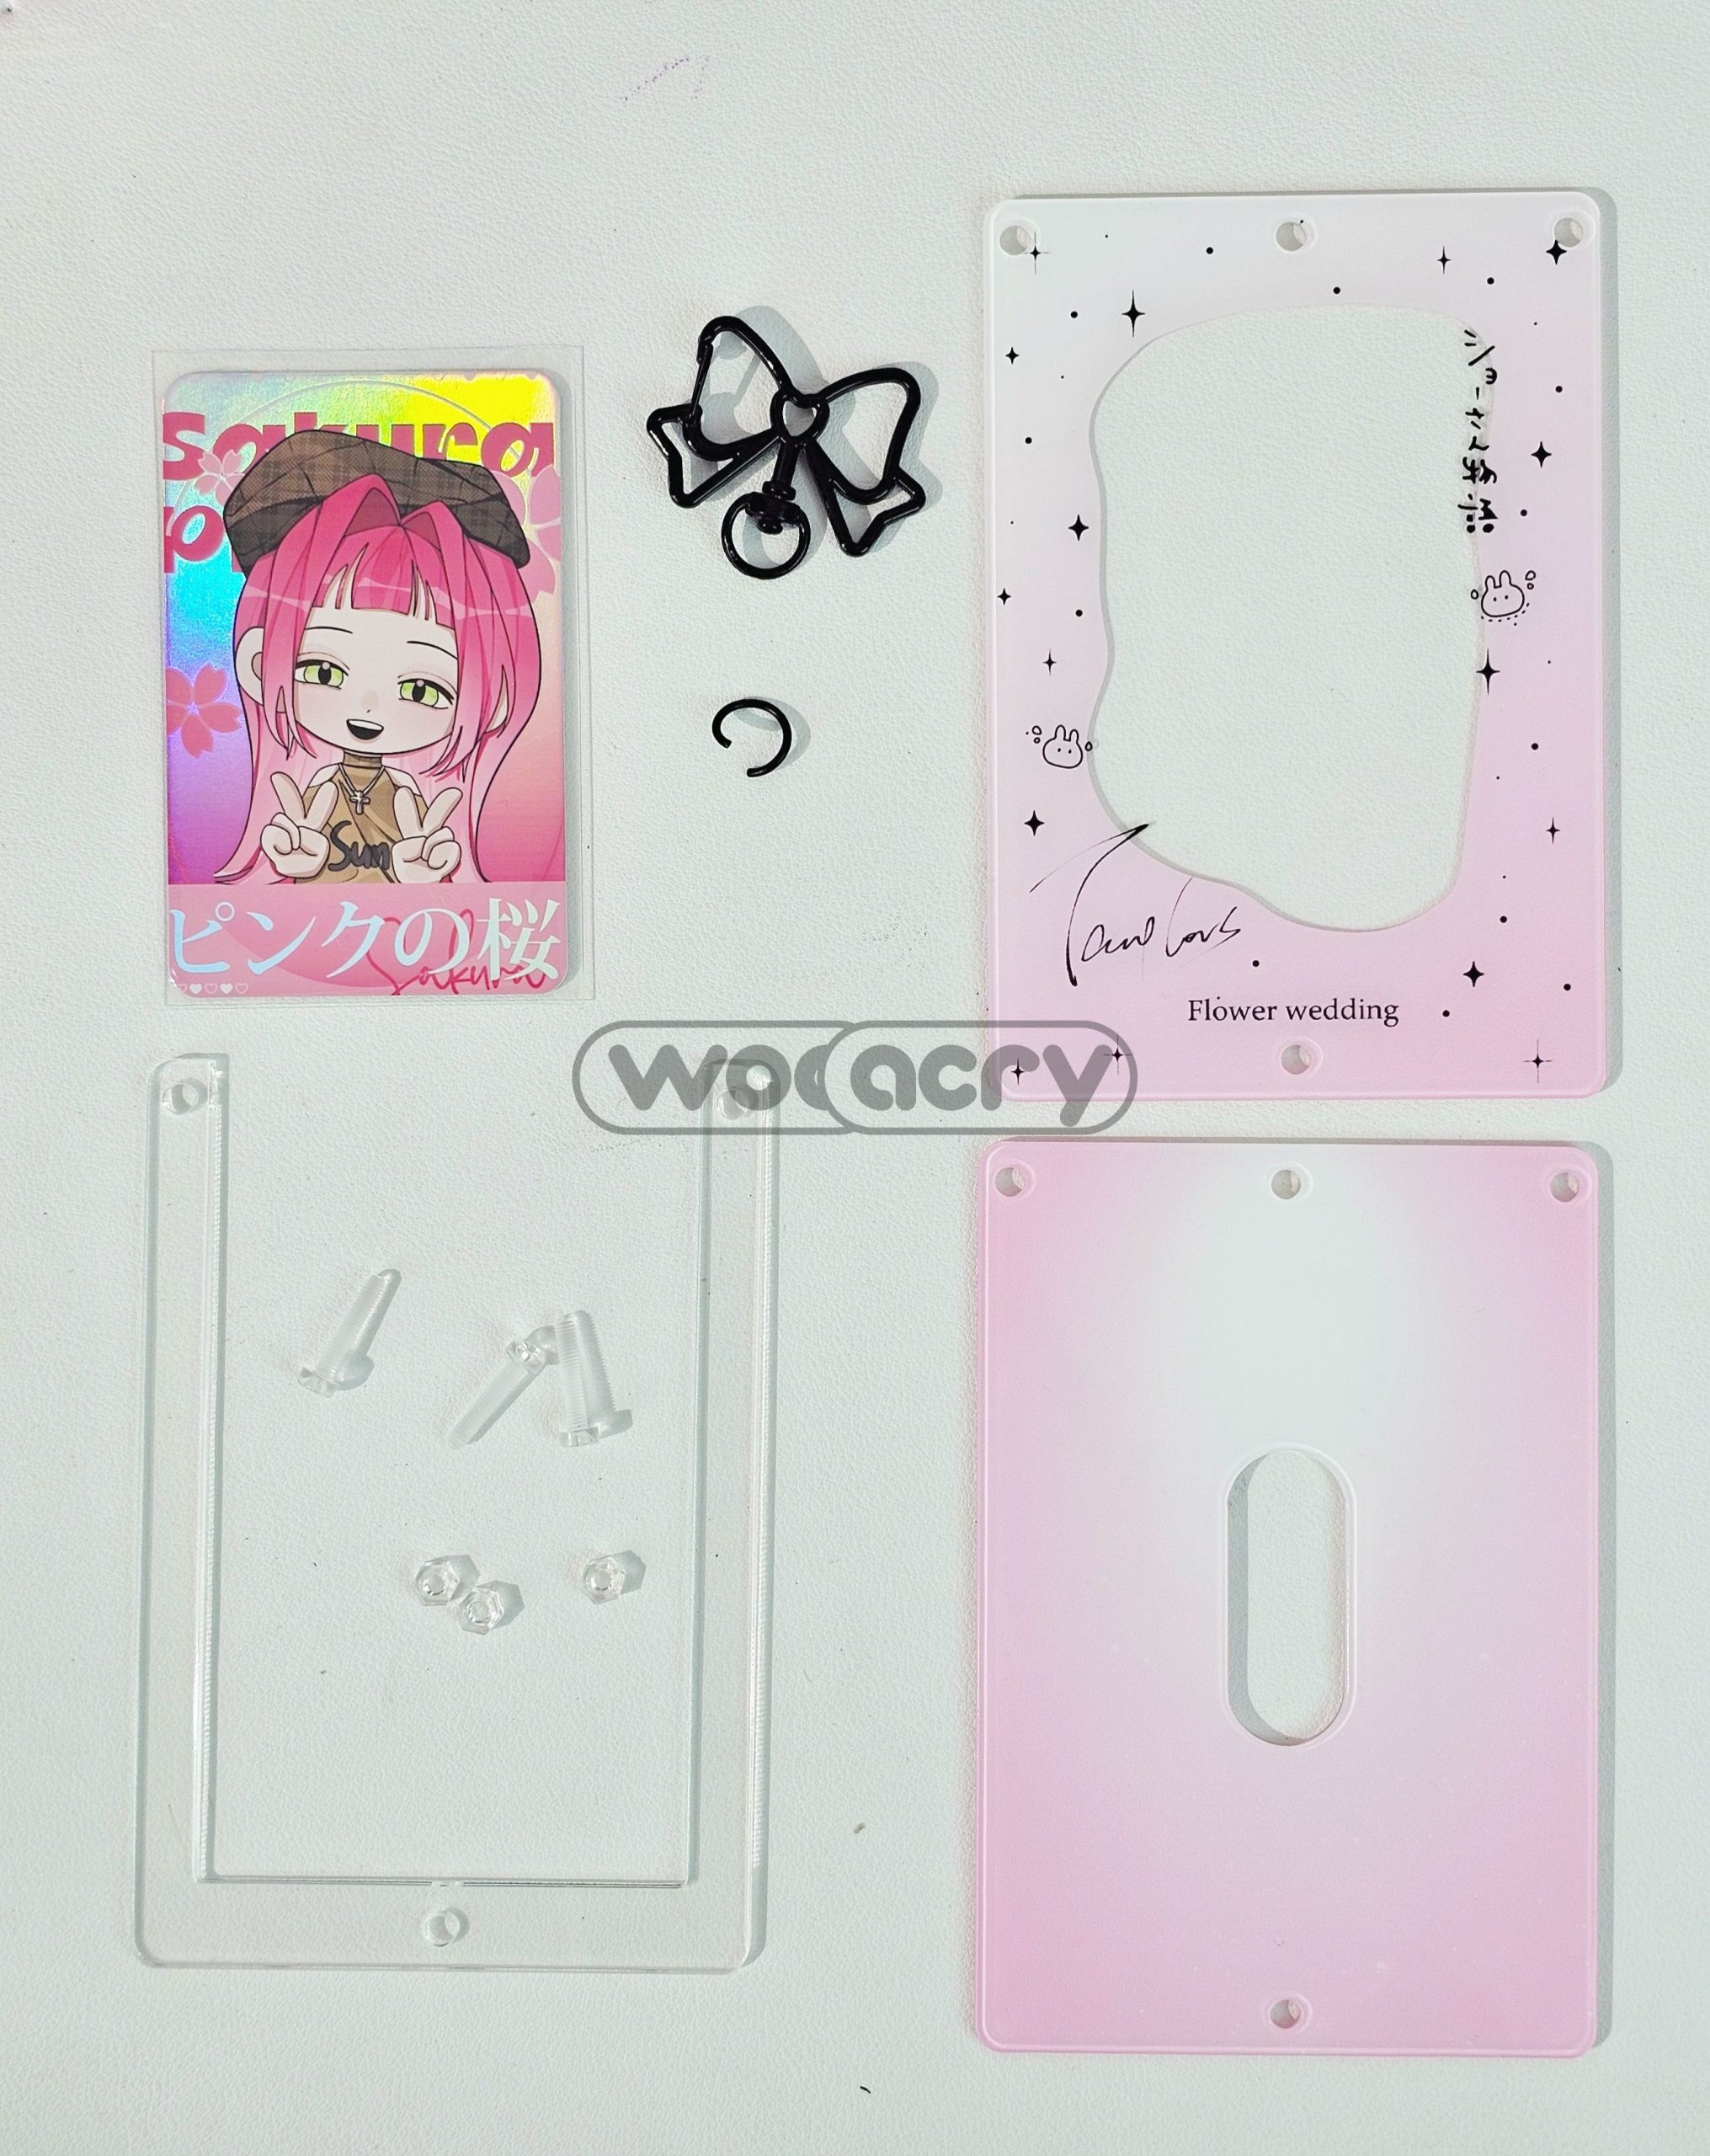
I will show you how to put them together.
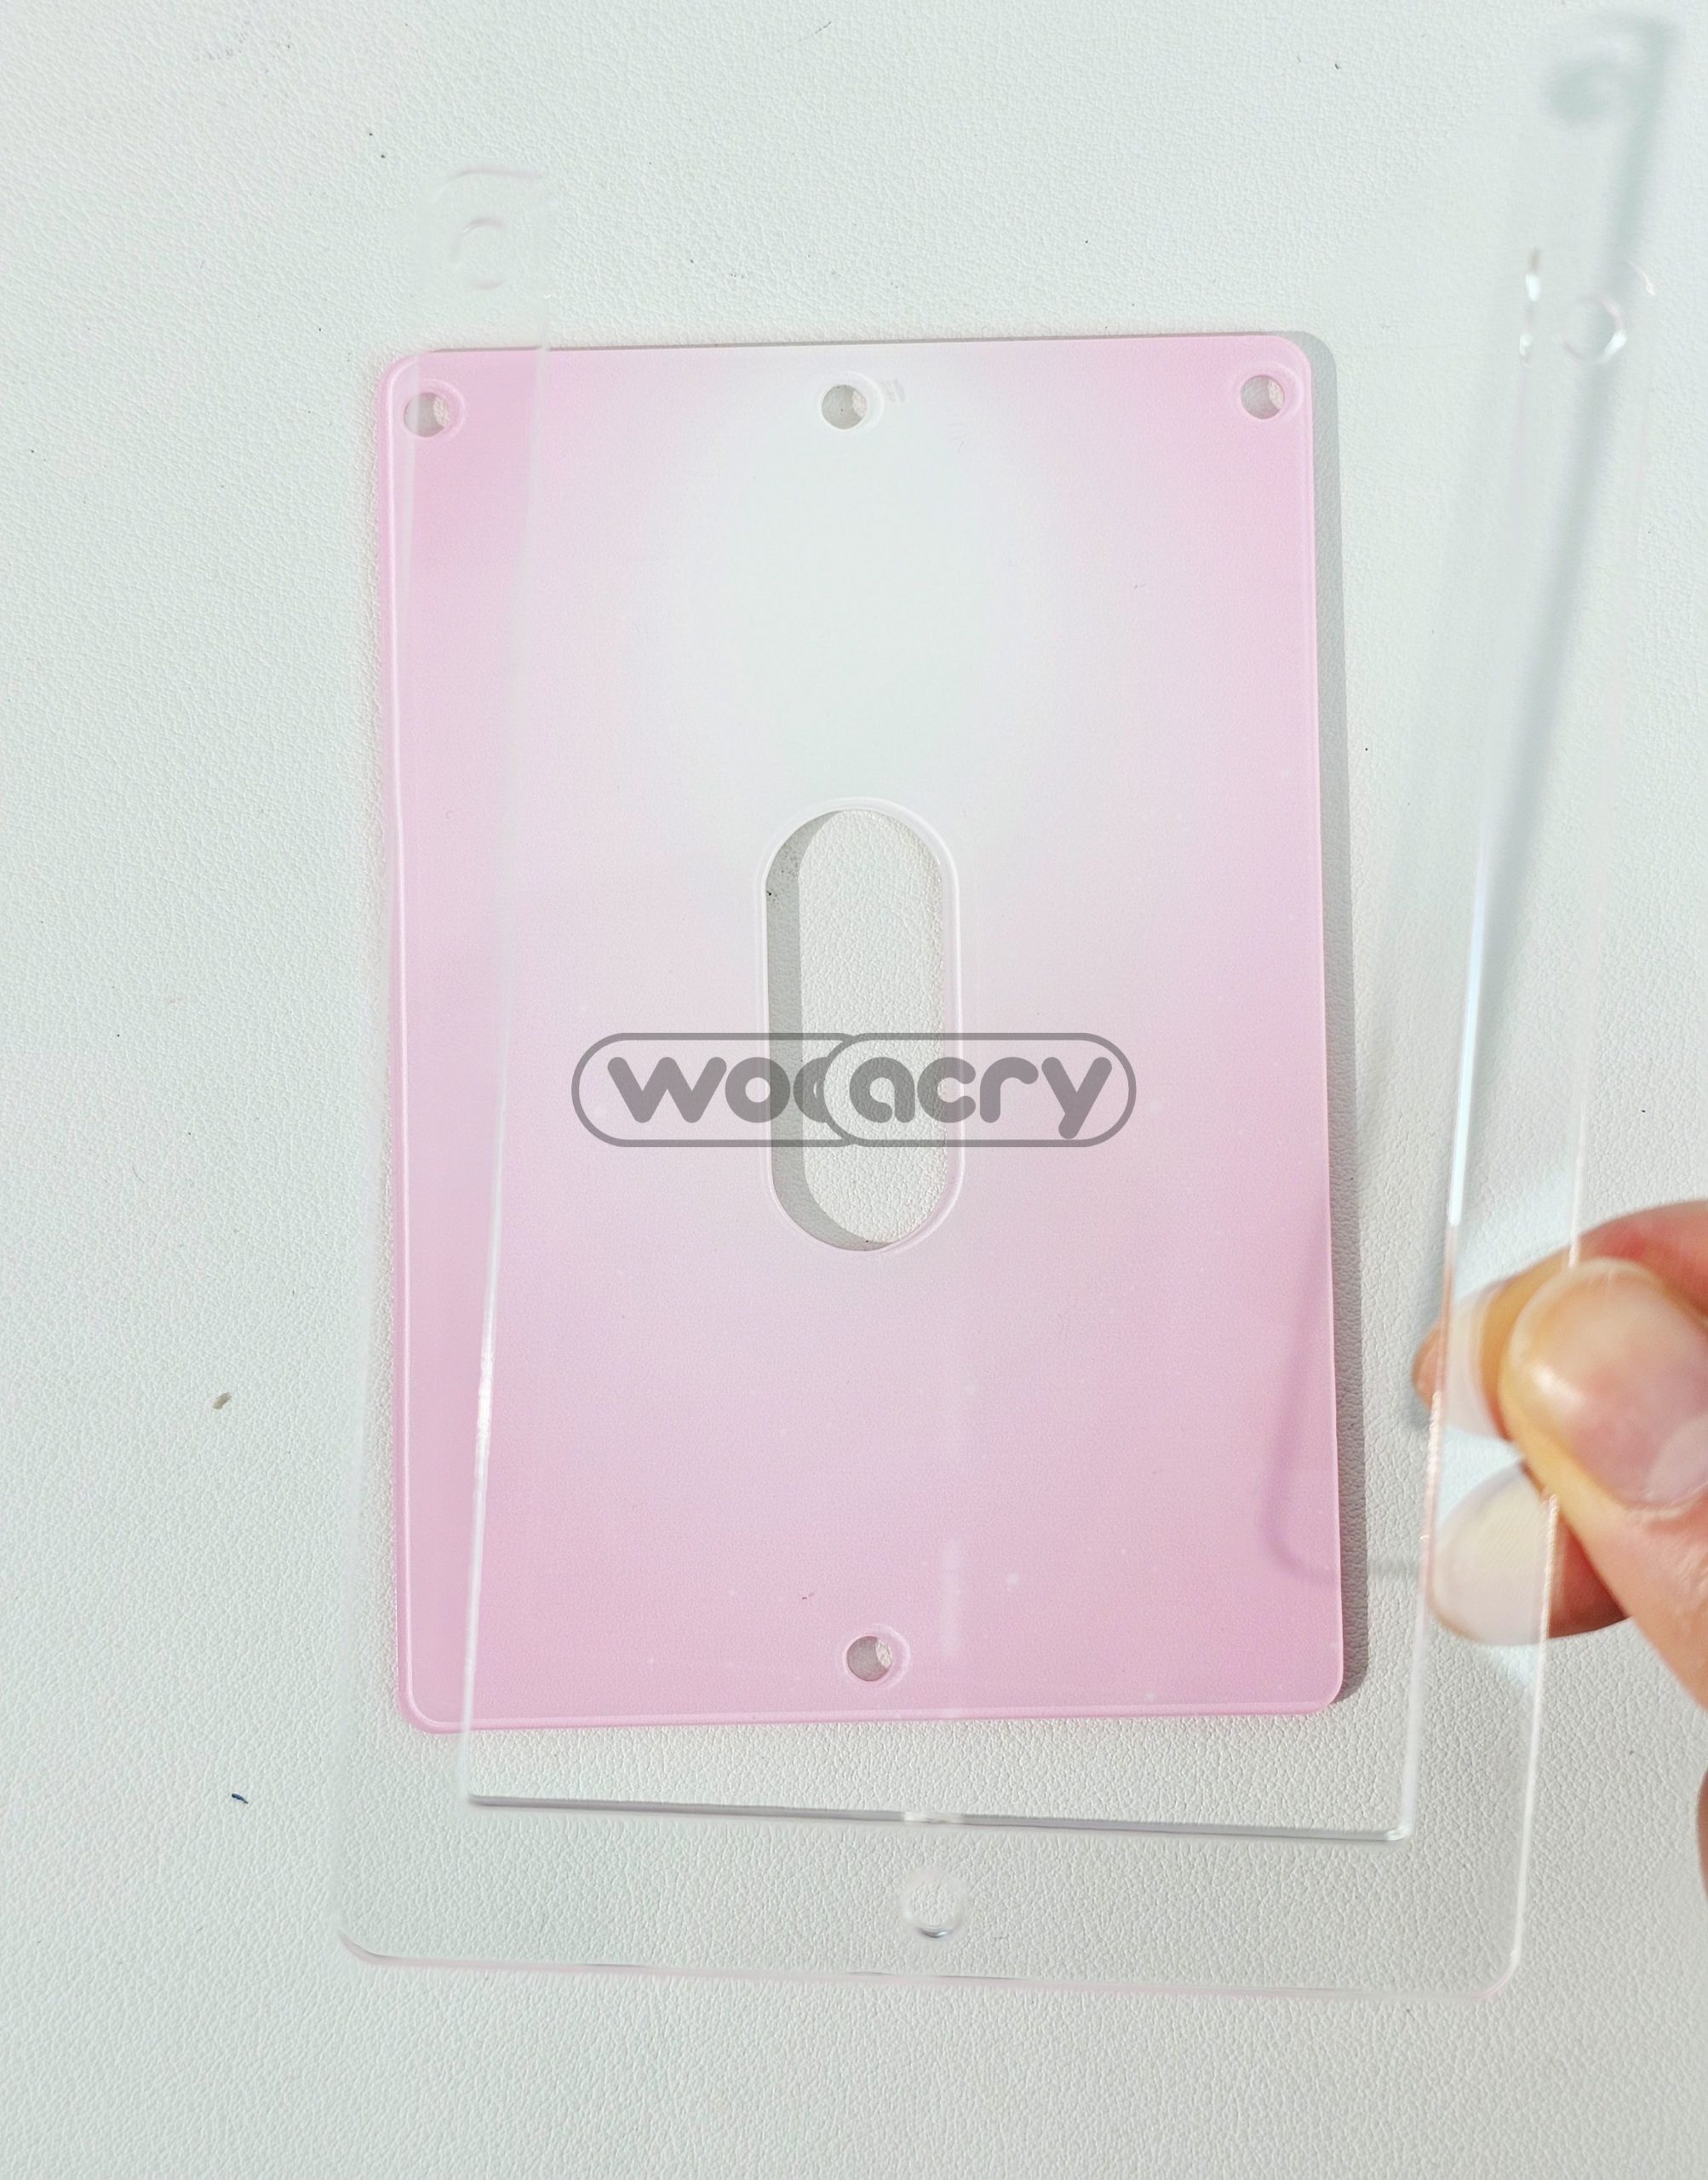
First, put the interlayer on the back panel:
Then, put the photo card on it:
Then you can put the front panel on it
ok then, the side would be like this way,
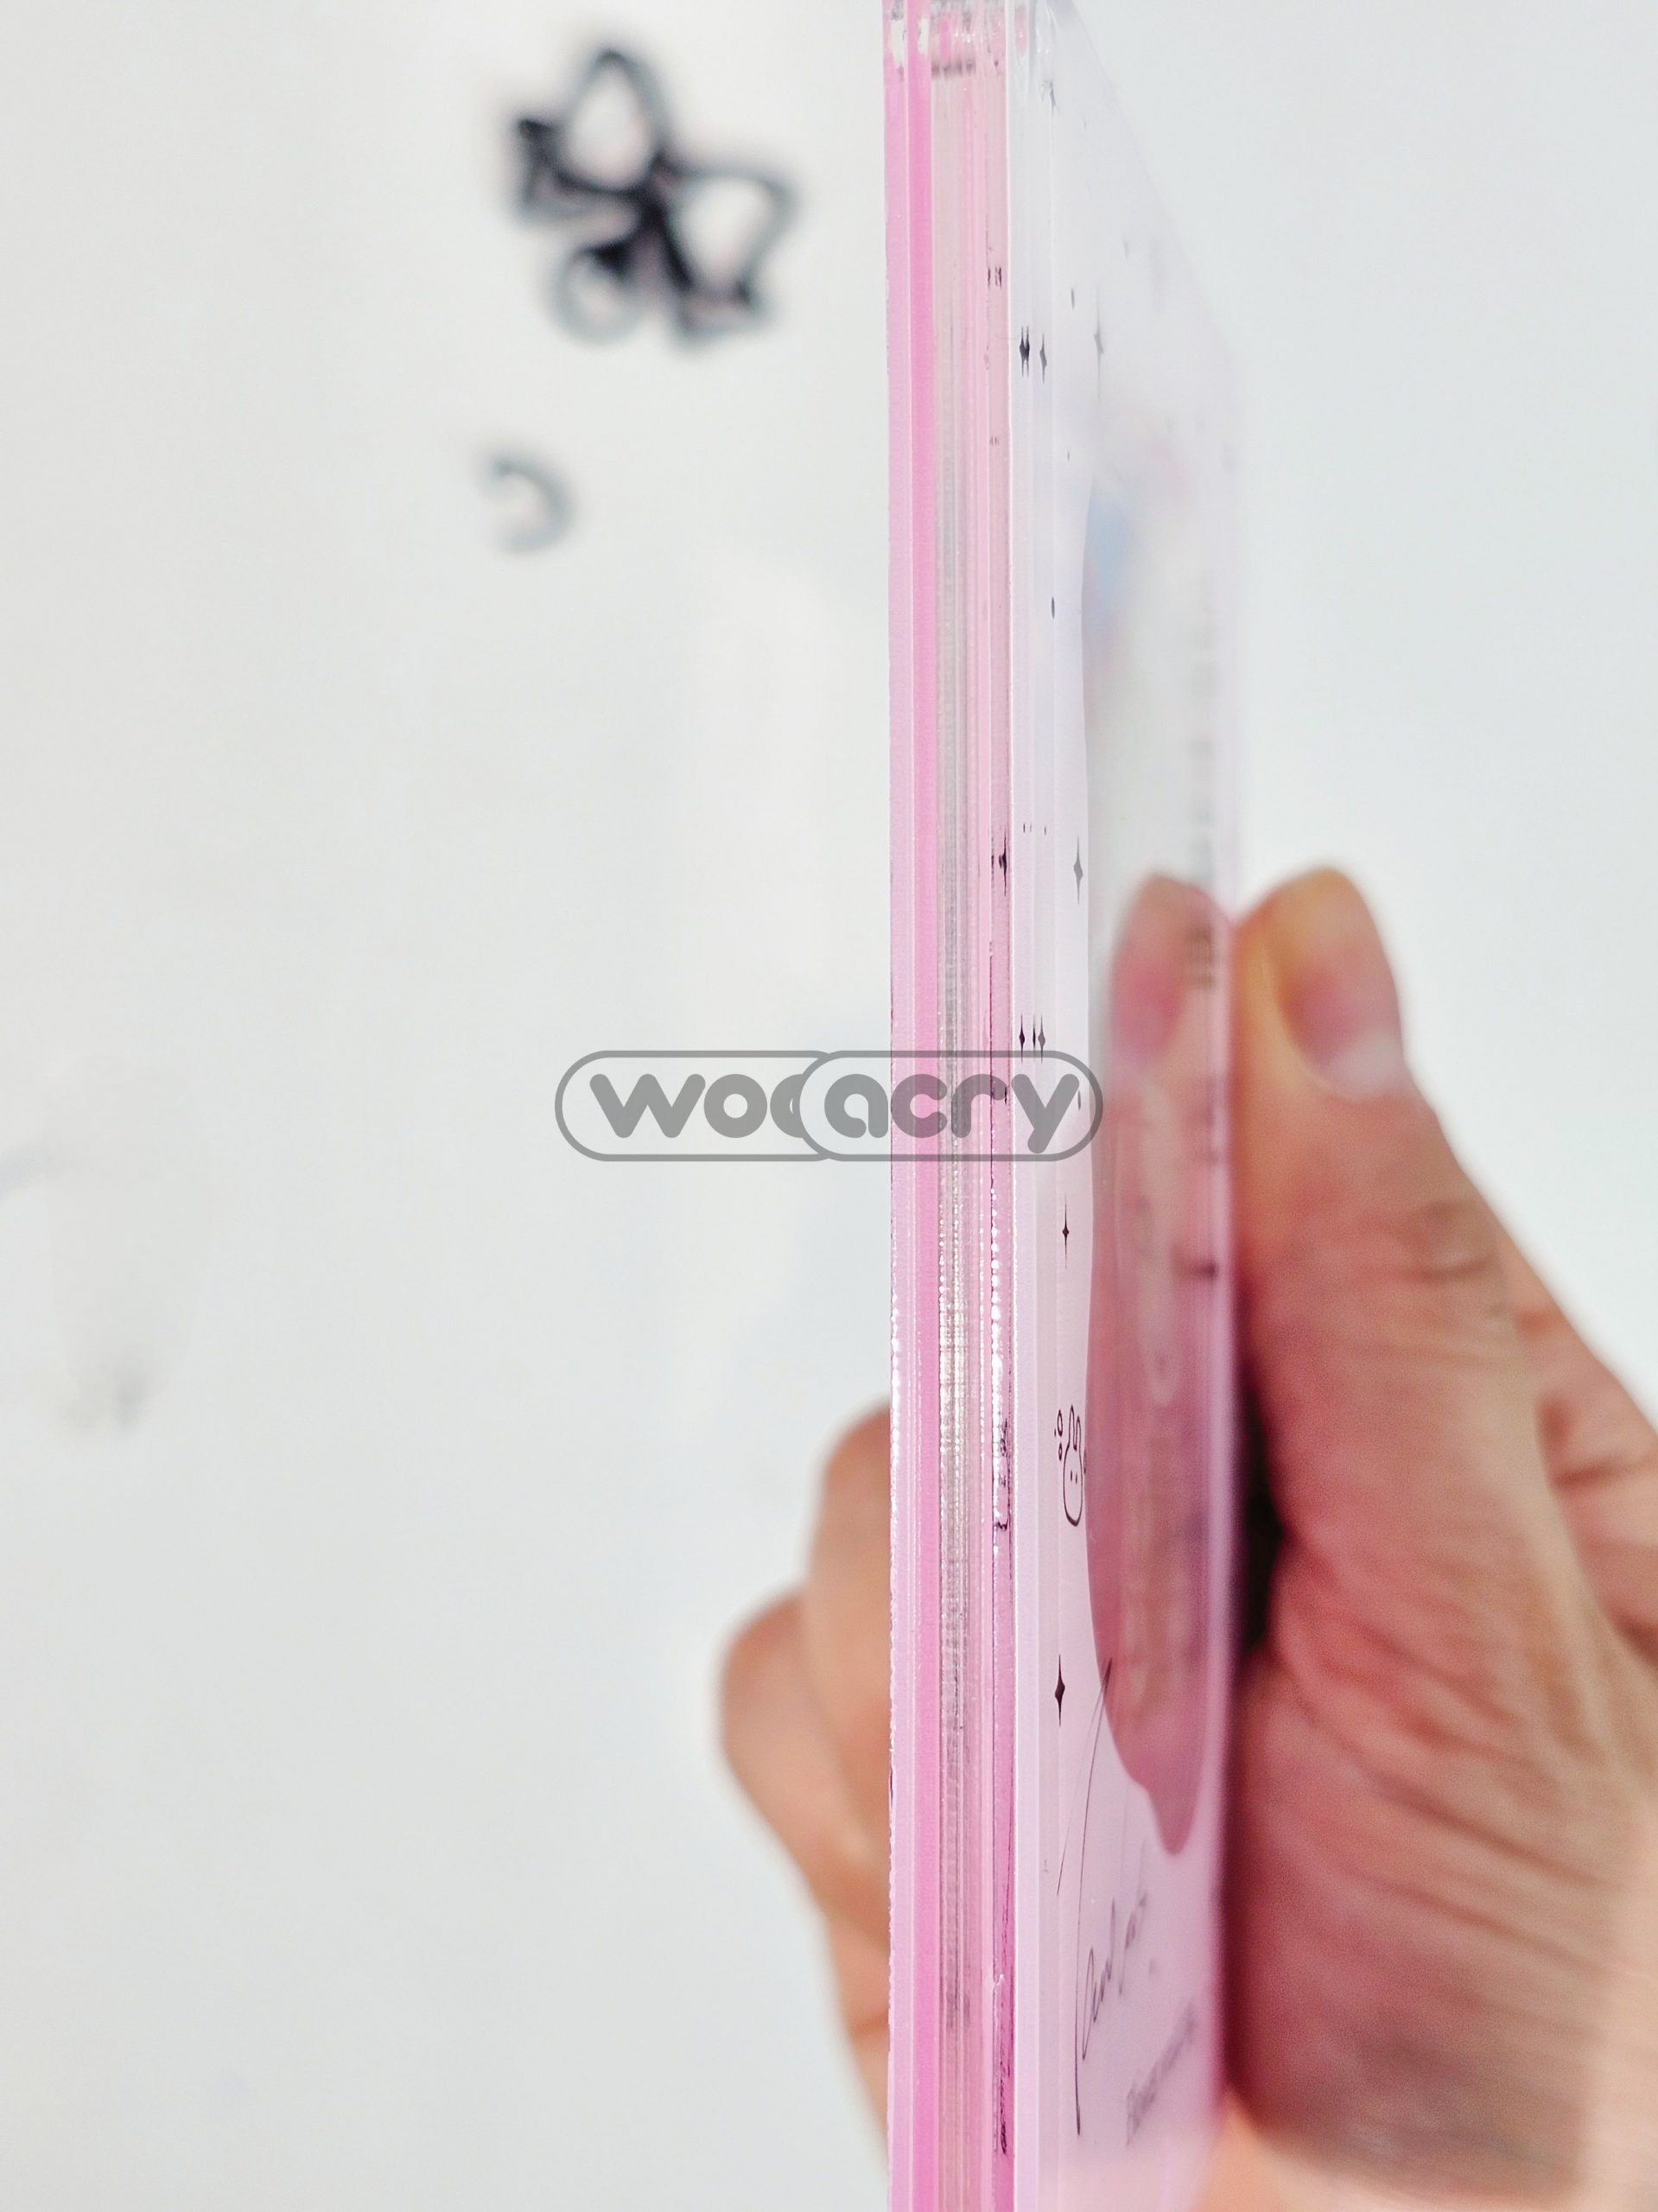
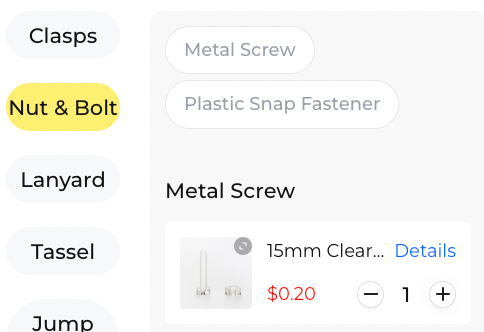
The next step is to use screws and nuts to hold them in place.
Have a look~ that’s all for it ^^
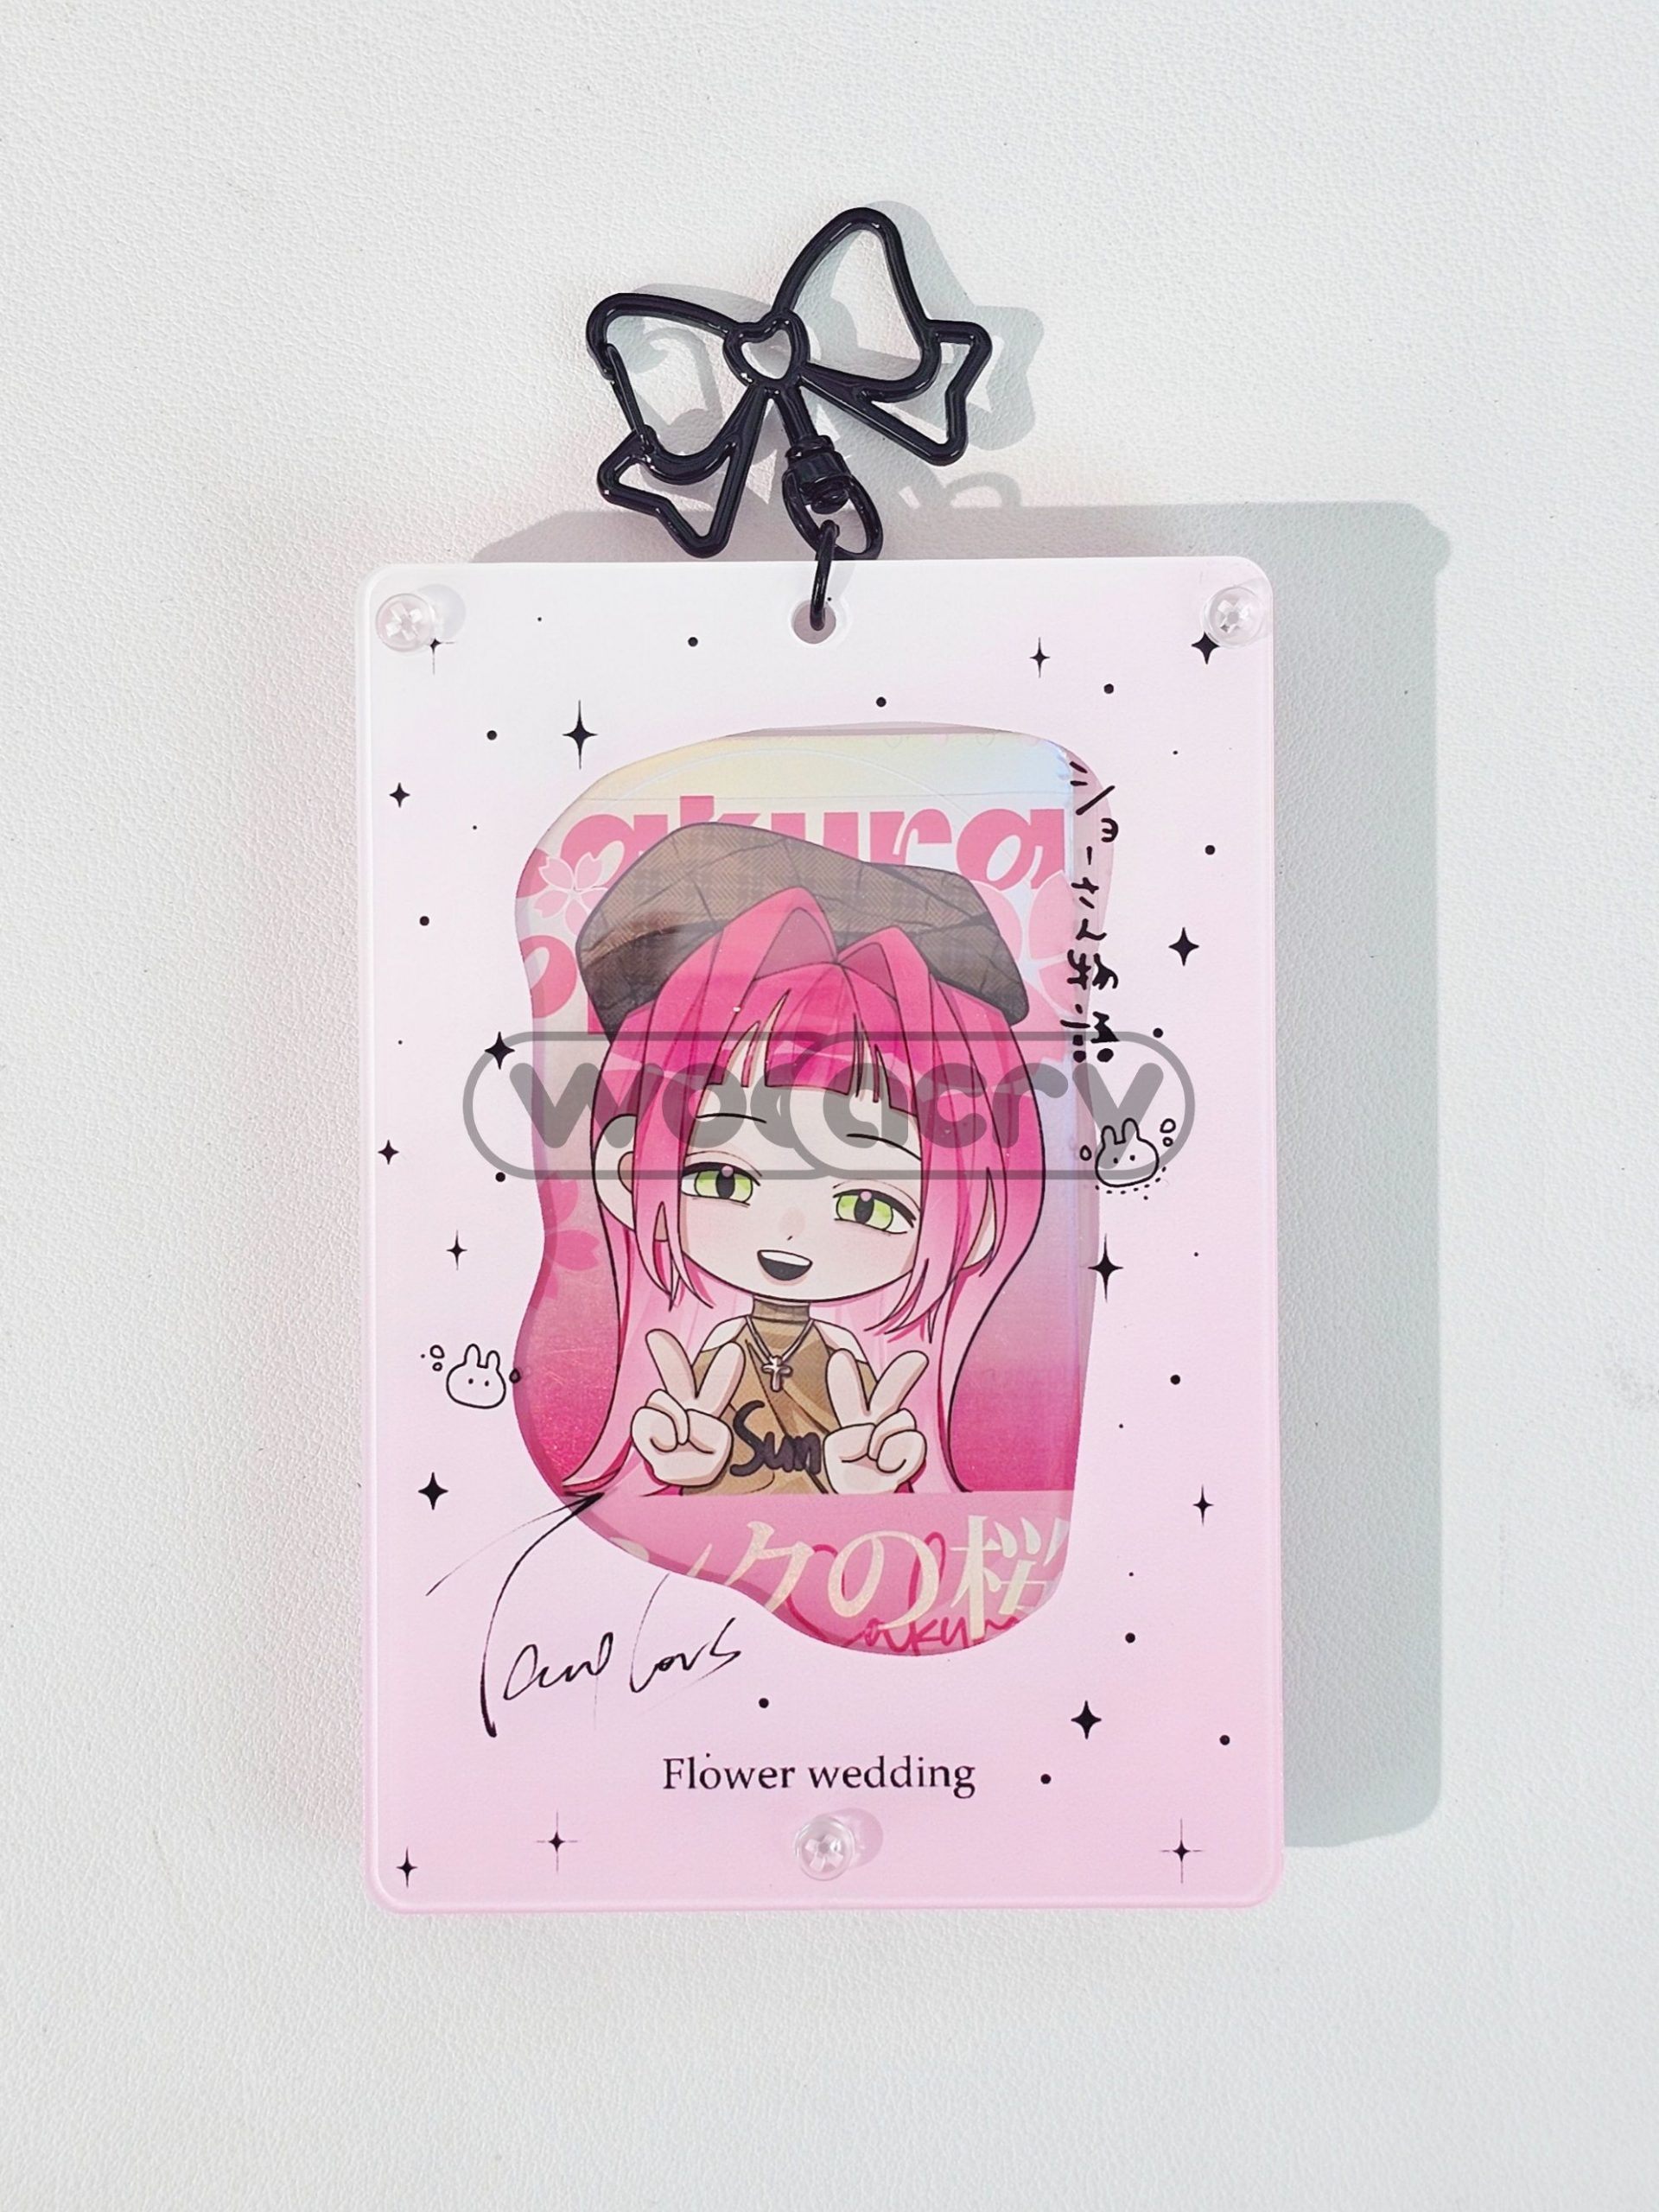
Please have a try with our DIY design acrylic